
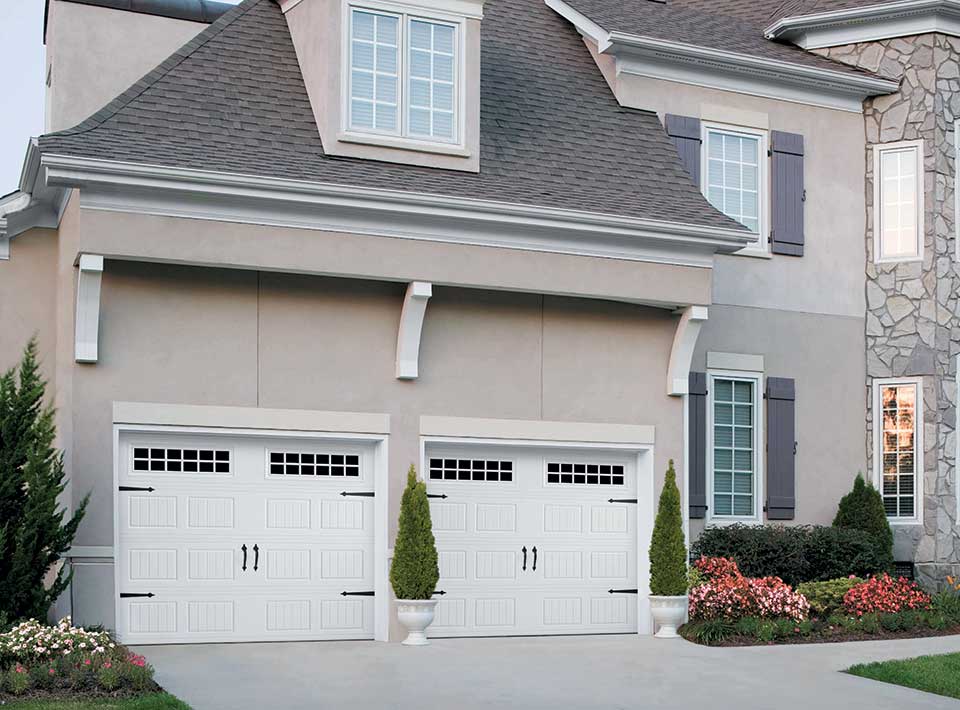
Investing in a new Garage Door Repair Louisville KY is an exciting decision that can enhance the curb appeal, functionality, and security of your home.
As with any home improvement project, understanding the timeline of new garage door installation is essential for proper planning and expectations. In this comprehensive guide, we’ll explore the various factors that influence the duration of the installation process and provide insights into what homeowners can expect at each stage.
1. Initial Consultation and Assessment:
The process of installing a new garage door typically begins with an initial consultation with a garage door professional. During this stage, a technician assesses the existing garage door, takes measurements, and discusses the homeowner’s preferences, style choices, and any specific requirements.
Timeline:
The initial consultation and assessment usually take about 1 to 2 hours, depending on the complexity of the project and the amount of information to be discussed.
Tips:
Be prepared to share your preferences regarding design, material, insulation, and any additional features you may want.
Use this time to ask questions and address any concerns you may have about the installation process.
2. Product Selection and Ordering:
After the assessment, the next step involves selecting the garage door style, material, color, and any additional features. Once the choices are made, the garage door professional will place an order for the selected door with the chosen specifications.
Timeline:
The product selection and ordering process typically takes 1 to 2 weeks. The timeline may vary based on the availability of the chosen door and any customization options.
Tips:
Take the time to carefully consider your choices, as the selected garage door will impact the aesthetics and functionality of your home.
Confirm the expected delivery date with the garage door professional.
3. Pre-Installation Preparation:
Before the actual installation, some preparatory steps are taken to ensure a smooth process. This may involve clearing the garage space, removing any obstructions, and preparing the existing garage door for removal.
Timeline:
Pre-installation preparation can take a few days to a week, depending on the condition of the existing garage door and the level of preparation needed.
Tips:
Clear the garage space of any vehicles, belongings, or obstacles to provide a clean and accessible work area.
Inform the installation team of any specific considerations, such as limited access or unique architectural features.
4. Removal of Existing Garage Door:
The removal of the existing garage door is a crucial step in the installation process. This involves dismantling and disposing of the old door, tracks, and hardware.
Timeline:
The removal process usually takes 1 day, although it may extend to 2 days for more complex installations or larger doors.
Tips:
Ensure that the installation team properly disposes of the old door and debris.
Discuss any concerns or preferences regarding the removal process with the installation team.
5. Installation of New Garage Door:
With the old door removed, the installation team begins the process of installing the new garage door. This includes assembling the door sections, installing the tracks, attaching hardware, and ensuring proper alignment.
Timeline:
The installation of a new garage door typically takes 1 to 2 days, depending on the complexity of the door, the size of the opening, and any additional features.
Tips:
Plan for a day or two when your garage may be inaccessible during the installation process.
Communicate with the installation team if you have specific preferences or concerns regarding the installation.
6. Testing and Adjustment:
After the installation is complete, the garage door undergoes thorough testing to ensure smooth and proper operation. This includes testing the opening and closing mechanisms, checking safety features, and making any necessary adjustments.
Timeline:
Testing and adjustment generally take 1 day, but it may extend to 2 days if additional fine-tuning is required.
Tips:
Take the time to test the garage door yourself and familiarize yourself with its operation.
Communicate any concerns or adjustments needed during the testing phase.
7. Final Inspection and Approval:
Once the installation and testing are complete, a final inspection is conducted to ensure that the new garage door meets quality standards and adheres to safety regulations. The homeowner is then invited to inspect the installation and provide approval.
Timeline:
The final inspection and approval process typically take a few hours on the same day as the testing and adjustment phase.
Tips:
Thoroughly inspect the new Garage Door Repair Louisville KY and its components.
Address any final questions or concerns with the installation team during the inspection.
8. Post-Installation Cleanup:
The installation team performs a post-installation cleanup to ensure that the work area is left in pristine condition. This includes removing any debris, packaging materials, and conducting a final check for any tools or equipment.
Timeline:
Post-installation clean-up usually takes a few hours on the same day as the final inspection.
Tips:
Confirm with the installation team that the cleanup is complete and that the work area is left in satisfactory condition.
Express any final considerations or feedback to the installation team
Bluegrass Garage Doors Sales, Service & Installation
1-270-898-1399